3D Halloween Scary Concept Design: How to Avoid Common Pitfalls and Get Better Results
Every October, designers, marketers, and hobbyists dive into creating chilling 3D concepts for Halloween. The allure is obvious: a well-executed scary design can hook audiences, drive engagement, and even sell products. But what separates a genuinely effective design from a cliché or confusing one? Understanding 3d Halloween Scary Concept Design isn't just about knowing software; it's about making deliberate choices that respect your audience, your tools, and your goals.
Whether you're a freelancer pitching to a haunted house attraction, a small business owner creating social media assets, or a hobbyist building your portfolio, certain mistakes consistently undermine results. Let's walk through the most common ones and, more importantly, how to avoid them.
What Is 3D Halloween Scary Concept Design and Why It Matters
At its core, a 3D Halloween scary concept design is a three-dimensional digital or physical model intended to evoke fear, unease, or eerie fascination. It might be a creature, a haunted environment, a prop, or even a typographic piece with macabre elements. People are drawn to it because Halloween offers a rare moment where fear becomes entertainment.
But here's the catch: a scary design that misses the mark doesn't just fail to frighten—it can feel silly, generic, or unintentionally funny. That's why understanding the concept part is as important as the 3D part. A great concept makes the audience feel something. A poor one just fills space.
Mistake #1: Jumping into Modeling Without a Clear Brief
One of the most common errors is starting to model before you've defined what "scary" means for your specific project. Different audiences have different thresholds. A stylized cartoon ghost might work for a children's event but fall flat for a horror game trailer.
- The problem: Without a clear brief, you risk designing something that feels generic. You might model a zombie because "zombies are scary," but if the pose, lighting, and context don't support the fear, it becomes just another 3D model.
- How to fix it: Before you open any software, write down the emotional response you want. Is it dread? Shock? Creeping unease? Then list the visual cues that trigger that response. Shadows, asymmetrical faces, unnatural proportions, or unsettling textures. This brief becomes your compass.
Example: Instead of modeling a "scary clown," decide whether you want it to be threatening (sharp teeth, large frame) or psychologically disturbing (fixed smile, unblinking eyes). Each requires different design choices. A brief prevents you from mixing signals.
Mistake #2: Ignoring Scale and Proportion
Scale is one of the most overlooked elements in 3d Halloween scary concept design. A creature that is too large can look comic rather than terrifying; one that is too small might not read as a threat at all.
Many beginners model in a vacuum, without reference objects. This leads to designs that look okay in the viewport but fall apart when placed next to a human character or environment.
- Better approach: Always include a human-scale reference in your scene from the start. Even a simple primitive cylinder at 1.7m tall helps. Then adjust proportions relative to that. A monster that is 2.5m tall with a tiny head and enormous hands reads differently than one that is human-sized but hunched.
- Technical tip: Use real-world units. If your software defaults to generic units, set them to meters or centimeters. This isn't just for scale—it affects how physics simulations and lighting behave.
Proportional Oddities That Work
Sometimes breaking proportion intentionally works. An animal with unnaturally long limbs can be disturbing. But you need to know you're breaking it. Without a brief, you might accidentally create a creature that looks like a bad dream rather than a nightmare.
Mistake #3: Overcomplicating the Design
When people think "scary," they often assume more details mean more fear. The opposite is usually true. Too many spikes, horns, teeth, and glowing eyes can create visual noise, making the design difficult to read. A cluttered model loses its focal point—the one element that sells the fear.
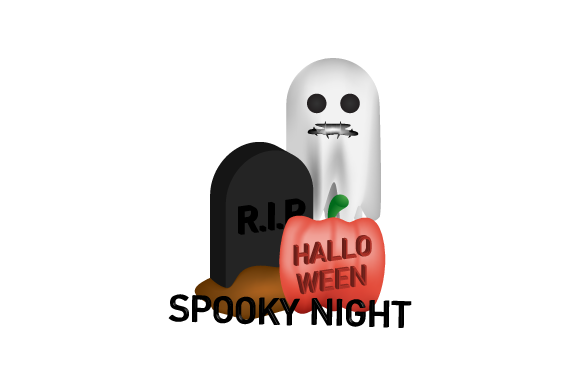
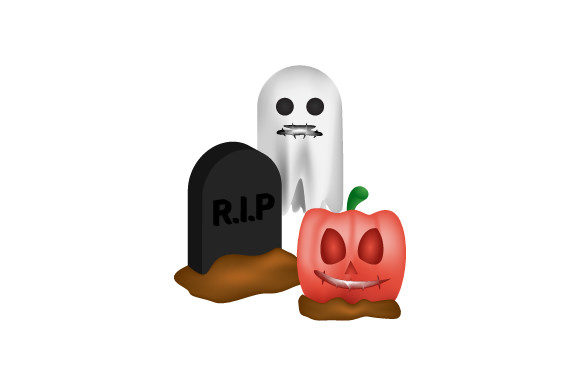
- Realistic example: A ghost with dozens of tattered cloth strips, floating debris, and particle effects might look messy. A ghost that is a simple, smooth transparent sheet with a hint of a face and a slight distortion in its edges can be far more effective.
- Correction: Use the "silhouette test." Fill your model with a solid color (or view it as a black silhouette). If you can't recognize what it is, you need to simplify. A strong, readable silhouette is essential for any concept design, especially in low-light Halloween contexts.
Mistake #4: Poor Lighting That Kills the Mood
Lighting is arguably more important than the geometry itself in 3d Halloween scary concept design. You can have a beautifully modeled creature, but if you light it flatly, it loses all its unsettling impact. Conversely, clever lighting can make a simple shape feel ominous.
Common lighting mistakes include:
- Over-lighting: Using too many lights or too-bright fill lights eliminates shadows, the primary tool for creating mystery.
- Uniform lighting: Lighting everything evenly removes the sense of hidden threats.
- Ignoring color temperature: Cool blue light might convey a clinical horror, while warm amber light can feel cozy and not scary at all.
Better Lighting Strategies
Start with a single key light from an unexpected angle. Low-angle light from below makes faces look sinister. Side lighting emphasizes texture and depth. Use darkness intentionally—let parts of the design disappear into the shadows. That forces the viewer's imagination to fill in the gaps, which is often scarier than what you can model.
If you are rendering for print or web, check your exposure on calibrated monitors. Many horror images look great on a phone screen but are washed out on a larger display because of high black levels.
Mistake #5: Neglecting Texture and Surface Detail
A 3D model without good surface detail looks like a toy. For Halloween design, the tactile feel matters even if it's digital. Worn surfaces, stains, organic growth, and imperfections all sell the age and history of a scary subject.
Many beginners rely solely on procedural materials or basic color maps. That's fine for a quick mockup, but for a final concept design, you need to consider roughness, bump, displacement, and subsurface scattering if applicable.
- Example: A leathery, scarred face needs different roughness values in the scars versus the surrounding skin. A wet surface reflects light differently than a dry one. Small details like these separate a professional concept from a student project.
- Tool advice: Use texture painting or photogrammetry scans as a base, then hand-paint or procedurally blend. Don't rely on a single high-res scan that looks generic. Customize at least some texture zones.
Mistake #6: Not Iterating and Getting Feedback
Because Halloween concepts are often produced under time pressure, creators skip iteration. They model, texture, render, and call it done. That is a recipe for missed potential.
Why Iteration Matters
Scary designs are subjective. What frightens you may not frighten your client or target audience. Without showing intermediate versions to a few trusted peers, you risk investing hours into a direction that doesn't resonate.
Set up at least two checkpoints: one after the blocking phase (basic shapes, no details) and one after the texturing start. At each checkpoint, ask: "What emotion does this evoke?" If people say "confused" or "meh," pivot.
Practical tip: Use versioning in your file names. Don't overwrite your earlier saves. If you need to backtrack, you can. This also protects you from software crashes that can corrupt complex files.
Mistake #7: Designing Without the User in Mind
Whether you're creating a 3d Halloween scary concept design for a video game, a poster, or a physical costume, the final medium matters. A design that looks amazing on a high-end monitor might be illegible as a thumbnail or on a phone.
Similarly, if the design is for a 3D print, you need to consider structural integrity, thickness, and support material. A spindly skeleton hand might break during printing. A model with floating pieces that has no connectors is useless for physical fabrication.
- For digital use: Test your render at the actual size and resolution it will be viewed. If it's for a character in a game, see how it looks from game camera angles, not just from the front.
- For physical use: Run a quick analysis in your slicer or fabrication software. Ensure all parts are thick enough and that there are no unsupported overhangs that would require excessive supports.
Context Is Everything
A graphic designer buying a pre-made 3D model for a poster should check that the model has clean topology for texturing and that the UVs are laid out efficiently. A marketer using a concept for a social media campaign should ensure the design reads well in both square and landscape formats.
Ask yourself: Where will this design live? What background will it be placed against? Will the scary element contrast or blend in? A dark gray monster against a black background is invisible.
Before You Download or Buy a 3D Halloween Concept
If you are not modeling from scratch, you might consider purchasing or downloading a pre-made 3d Halloween scary concept design. This can save time, but it also introduces its own pitfalls.
- Check licensing carefully. Many free models are not cleared for commercial use. Even if they are, the license may restrict derivative works or require attribution. Read the license file, not just the product description.
- Inspect polygon count and format. Ensure the file is compatible with your software and that the polygon count fits your pipeline. A high-poly model intended for film will choke a game engine. A low-poly model will lack detail for a high-res print.
- Check texture resolution and maps. Missing normal maps or opacity maps can ruin the effect. Always open the model in your software and test render before committing to a purchase.
- Look at user reviews and previews. Sometimes the seller uses a perfect lighting setup that hides flaws. View the model in multiple render views if possible.
Keep Projects Manageable with a Feedback Loop
No one produces a perfect scary design on the first try. The best approach is to treat each project as a learning experience. Document what worked and what didn't. Over time, you will build a mental library of effective tricks—like how to use asymmetry to unsettle, or how a subtle color shift in the eyes can go from dead to predatory.
Don't be afraid to scrap a model and start over if the concept is fundamentally flawed. It feels painful, but it is faster than trying to fix a broken base geometry with endless detail passes.
Remember that 3d Halloween Scary Concept Design is ultimately about connecting with the viewer's emotions. Technical skill is important, but it serves the concept, not the other way around. A simple model with a strong silhouette and smart lighting will always outperform a complex model that lacks direction.
Next time you sit down to design for Halloween, start with a brief, use a reference for scale, test your lighting, simplify your shapes, iterate early, and always keep the final context in mind. That path will lead to designs that genuinely spook, impress, and communicate effectively.